Introduction

NetScaler with Unified Gateway provides access to all your corporate applications and consolidates your entire remote access infrastructure under One URL.
It provides remote access, from any device, to
- Citrix XenApp and XenDesktop environment,
- Intranet based Web apps,
- Cloud based SAAS apps,
- SSL VPN based remote access apps(like RDP!!) and
- Integration with XenMobile (MDM.MAM Solution).
For IT, this helps improve the efficiency and reduce cost of ownership.
For users it provides enhanced user experience - one URL for accessing any corporate application from any device type.
Integrate this with StoreFront's(v3.5 Only) unified Citrix Receiver experience to give your users - similar user experience from any device connecting to the same URL for all their corporate applications.

Component
|
IP address/Host Name
|
Notes
|
CS VS
|
192.168.1.15
|
Content Switching Virtual Server. The single URL resolves to this IP address
|
VPN VS
|
0.0.0.0
|
VPN Server - provides Authentication services to other LB virtual servers. Also provides access to Citrix Applications
|
Domain Controller
|
192.168.1.4
|
Domain Controller - Authentication policy talks to this server to authenticate users.
|
Store Front 1
|
192.168.1.151/ddc01.sun.ad
|
Citrix Store Front servers.
|
Store Front 2
|
Not Present
| |
LB VS
|
0.0.0.0
|
Load Balancing Virtual Server which load balances our web application
|
Web Server 1
|
192.168.1.153
|
Web server hosting our test web application
|
Web Server 2
|
Not Present
|
We know Netscaler provides a more than handy graphical user interface, but command line interface will give us better understanding of what is being configured.
So we will try to do most of the work using the command line interface – we will only do the Unified Gateway “creation” using the GUI. Everything else will be done using the CLI.
Let us get started !!
Enable Features
Let us get started !!
Enable Features
There are a host of features which work together to get the magic done, we will enable them using the following NetScaler commands.
> enable ns feature CS
> enable ns feature SSLVPN
> enable ns feature SSL
> enable ns feature AAA
> enable ns feature LB
In case your infrastructure apps require an addition of a new SNIP address, use the following command to add a new SNIP
> add ns ip 192.168.1.12 255.255.255.0 -type SNIP -arp ENABLED -icmp ENABLED -vServer ENABLED -snmp ENABLED -mgmtAccess DISABLED -restrictAccess DISABLED -state ENABLED
Where 192.168.1.12 is the new SNIP being added to the NetScaler.
DNS
NetScaler will need to talk to a lot of application servers which are not necessarily in control of the IT department. These servers are controlled and managed by Application development teams and hence are very very prone IP address changes.
It is always a good practise to use hostnames wherever possible and it gets imperative that we get NetScaler appliances talking to the corporate DNS infrastructure.
Use the following commands to configure the IP addresses of your DNS servers as the nameservers on the NetScaler appliances -
> add nameServer 192.168.1.4
> add nameServer 192.168.1.3
NetScaler expects at least on DNS Suffix to be configured before it gets talking to the DNS infrastructure, so let us oblige..
> add dns suffix sun.ad
Since the Unified Gateway virtual servers will be SSL/VPN virtual servers, we need different sets of “Web Server Certificates” –
- For the Content Switching Virtual Server – the same can be used for the VPN virtual server for this deployment.
Certificate needs to copied to the “/nsconfig/ssl” directory on the Netscaler. For details on the Certificate request process, please refer to the Citrix article < http://support.citrix.com/article/CTX109260>
My Certificate file “star.sun.ad.cer” and key file “star.sun.ad.key” are now located on the Netscaler at the directory “/nsconfig/ssl”.
We will use the following command to configure the “Certkey” which will be required for our deployment
> add ssl certKey star.sun.ad –cert /nsconfig/ssl/star.sun.ad.cer -key /nsconfig/ssl/star.sun.ad.key -inform DER
This particular test deployment does not need a CA certificate on the Netscaler as at no point we are enforcing NetScaler to do SSL Server validation. But in some scenarios where your web application is an SSL based applications and you want Netscaler to do server authentication, you will need to add a CA certificate
> add ssl certKey RootCA.sun.ad -cert /nsconfig/ssl/RootCA_for_wildCardCert.cer -inform DER
Netscaler supports multiple methods of authentication like PKI Certificate based Auth, Radius, local, Kerberos Delegation, SAML among others.
In this test deployment we will use the Active directory domain authentication as our authentication mechanism. We will look to add Multi factor authentication into this deployment later in this document.
But for now, we will add an LDAP Authentication policy -
add authentication ldapAction 192.168.1.4_LDAP -serverIP 192.168.1.4 -serverPort 389 -authTimeout 3 -ldapBase "cn=users,dc=sun,dc=ad" -ldapBindDn "CN=testuser,CN=Users,DC=sun,DC=ad" -ldapBindDnPassword "****" -ldapLoginName sAMAccountName -groupAttrName memberOf -subAttributeName cn -secType PLAINTEXT -svrType AD -authentication ENABLED -requireUser YES -passwdChange DISABLED -nestedGroupExtraction OFF -followReferrals OFF -referralDNSLookup A-REC -validateServerCert NO
add authentication ldapPolicy 192.168.1.4_LDAP_pol NS_TRUE 192.168.1.4_LDAP
Switch Used
|
Value used for test Deployement
|
Explanation
|
serverIP
|
192.168.1.4
|
Domain Controller IP address
|
serverPort
|
389
|
LDAP port
|
authTimeout
|
3
| |
ldapBase
|
cn=users,dc=sun,dc=ad
|
Base DN where to search for user name in AD
|
ldapBindDn
|
CN=testuser,CN=Users,DC=sun,DC=ad
|
DN of the LDAP bind user account
|
ldapBindDnPassword
|
*******
|
LDAP bind user account password
|
ldapLoginName
|
sAMAccountName
|
Where to look for User Name
|
groupAttrName
|
memberOf
| |
subAttributeName
|
cn
| |
secType
|
PLAINTEXT
|
LDAP security type
|
svrType
|
AD
|
LDAP server Type
|
authentication
|
ENABLED
| |
requireUser
|
YES
| |
passwdChange
|
DISABLED
| |
nestedGroupExtraction
|
OFF
| |
followReferrals
|
OFF
| |
referralDNSLookup
|
A
| |
REC
| ||
validateServerCert
|
NO
|
As I had mentioned earlier – we will use the “Unified Gateway” wizard to add Unified Gateway Skeleton. I will also try to explain what this wizard has actually done and list down the commands to achieve the same –
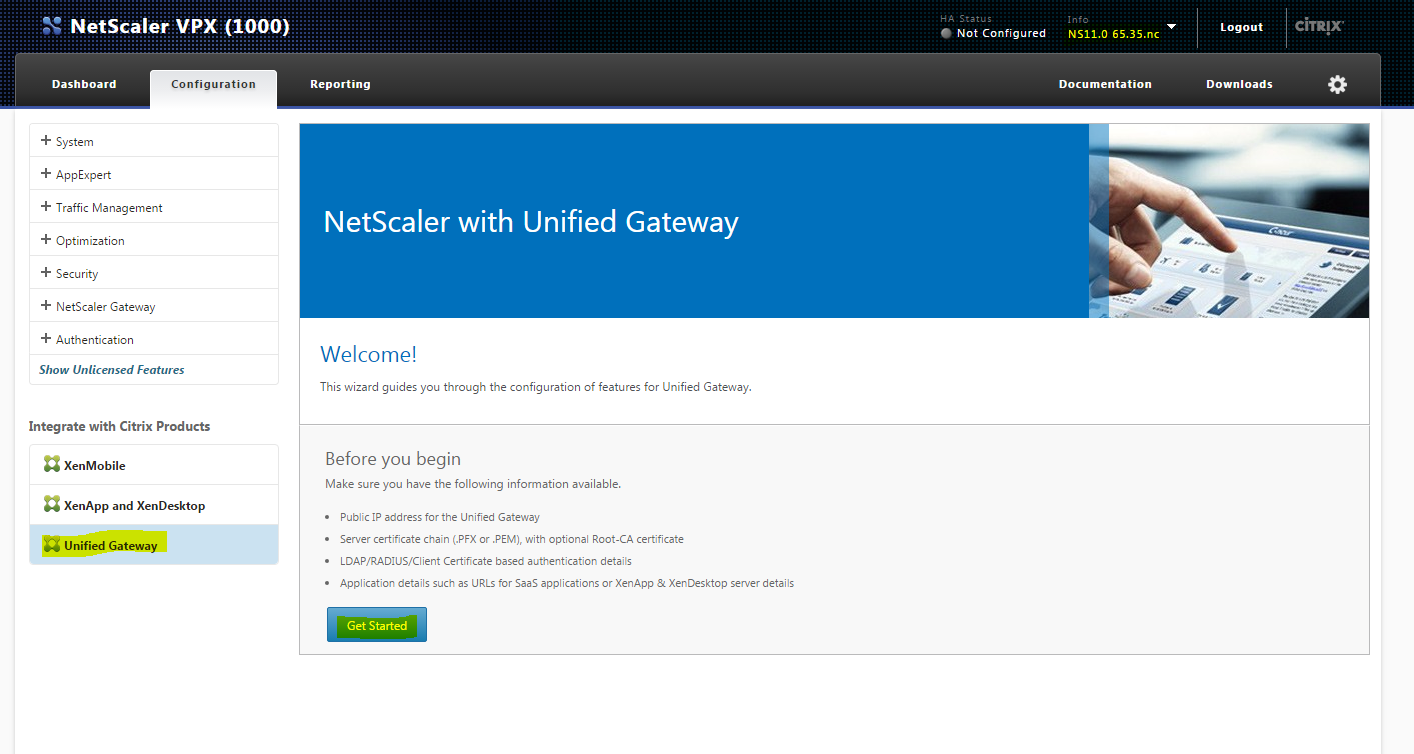
- Scroll down to the bottom of the “Configuration” tab on the NetScaler GUI and Click on the “Unified Gateway” under “Integrate with Citrix Products”
- Click Continue on the next page.
- Add a suitable “Name”, publically accessible “IP address” and Port on the “Unified Gateway Configuration” Page.
- The URL used by the users to access their applications will resolve to this IP address. The port number should be 443, unless your internal firewall changes that to a custom port.

- “Use Existing Certificate” and select the CertKey which we created in steps above.

- Select “Active Directory/LDAP” as the primary Authentication Method and select the “Use Existing Server” , then select the LDAP policy we created in the steps above.

- Select “X1”, just because it is the coolest feature of NetScaler, yet.

- Click “Continue”, leaving the “Applications” blank. Complete the Unified Gateway setup.
At this point we notice that the Unified Gateway Wizard has –
Created a Content Switching Virtual Server.
This Content Switching Virtual Server has the public IP address which we assigned to our “Unified Gateway”

Content Switching Policy
This Unified Gateway also has a Content Switching Policy Assigned to it. Let us have a look –

- This Content Switching policy has been configured with a rule “is_vpn_url”, which is a new advanced policy expression, which matches all NetScaler Gateway and authentication-specific requests.
The content switching action –

The VPN virtual Server
This Content switching action sends all authentication related requests to the VPN virtual Server –

- Please note that the VPN virtual server created in the request above has is non-addressable.
- There is one session Policy and Session Profile created and bound with this VPN virtual server –

- Netscaler v11.0, b 65.35.nc has this bug that the VPN server created above by the wizard stays down. The reason for that is that NetScaler expects an SSL virtual Server to have an SSL certificate assigned to it. We will go ahead and bind the same certificate, we assigned to Unified Gateway, to this virtual server as well.
> bind ssl vserver UG_VPN_unified.sun.ad -certkeyName star.sun.ad
Done

Now that we have a skeleton “Unified Gateway” created, we will add applications to it.
We will start by adding the Citrix farm. Here is a quick introduction of our Citrix farm, for this deployment
Role
|
Server Name
|
IP address
|
STOREFRONT SERVER
|
DDC01.SUN.AD
|
192.168.1.152
|
DELIVERY CONTROLLER
|
DDC01.SUN.AD
|
192.168.1.152
|
LICENSE SERVER
|
XA01.SUN.AD
|
192.168.1.151
|
XENAPP SERVER
|
XA01.SUN.AD
|
192.168.1.151
|
We start by enabling the content witching virtual server to forward the requests sent to the Citrix StoreFront server to the VPN virtual server, which will also act as the “Access Gateway” virtual Server for our ICA traffic.
> set cs policy UG_CSPOL_unified.sun.ad -rule "is_vpn_url || HTTP.REQ.URL.PATH.SET_TEXT_MODE(IGNORECASE).STARTSWITH(\"/citrix/storeweb\")" -action UG_CSACT_unified.sun.ad
where “storeweb” is the name of my StoreFront’s web store.
For the VPN virtual server to provide ICA proxy services, we will have to add new session profiles and session policies. These session policies will define how the requests sent for the Citrix XenApp/XenDesktop access are treated by the VPN virtual server.
We will start by adding the a profile for “web access” -
add vpn sessionAction AC_WB_19.168.1.15 -defaultAuthorizationAction ALLOW -SSO ON -ssoCredential PRIMARY -icaProxy ON -wihome "https://ddc01.sun.ad/citrix/storeweb" -wihomeAddressType IPV4 -ClientChoices ON -ntDomain SUN -clientlessVpnMode DISABLED
Switch Used
|
Value used for test Deployement
|
Explanation
|
add vpn sessionAction
|
AC_WB_19.168.1.15
|
Name of the Session profile
|
defaultAuthorizationAction
|
ALLOW
| |
SSO
|
ON
|
Single Sign on to storeFront
|
ssoCredential
|
PRIMARY
|
Credentials to use for Single Sign on
|
icaProxy
|
ON
|
Citrix access required
|
wihome
|
"https://ddc01.sun.ad/citrix/storeweb"
|
URL of the StoreFront web store
|
wihomeAddressType
|
IPV4
| |
ClientChoices
|
ON
|
Do we want to display multiple option for the users
|
ntDomain
|
SUN
|
Active Domain to authenticate agains
|
clientlessVpnMode
|
DISABLED
|
Clientless access
|
Assign the above session action to a session policy –
add vpn sessionPolicy PL_WB_19.168.1.15 "REQ.HTTP.HEADER User-Agent NOTCONTAINS CitrixReceiver && REQ.HTTP.HEADER Referer EXISTS" AC_WB_19.168.1.15
Bind the above policy to the VPN server and add STAs.
bind vpn vserver UG_VPN_unified.sun.ad -policy PL_WB_19.168.1.15 -Priority 100
bind vpn vserver UG_VPN_unified.sun.ad -staServer "http://ddc01.sun.ad" -staAddressType IPV4
Add an Intranet application
Now we will try to add an intranet base web application, like OWA, to the Unified Gateway.
A quick introduction to my web application –
Server Name
|
IIS01.SUN.AD
|
Server IP addresses
|
192.168.1.151
|
Web Server Type
|
IIS Web server
|
Web Authentication Type
|
Basic Authentication
|
Web App type
|
Static HTML page
|
To enable this we will create a load balancing virtual server which will represent our web application server(s). Then we will configure authentication for this LB virtual server. In the end we will add content switching policy to request our CS virtual server to forward all our “web application” requests to this LB virtual server.
Create a load balancing vserver
add service svc_http_iis_default 192.168.1.153 http 80
add lb vserver lb_vserver_http_iis_default http
bind lb vserver lb_vserver_http_iis_default svc_http_iis_default
Now, we will use the following command to direct the VPN virtual server to perform user authentication for this load balancing virtual server.
set lb vserver lb_vserver_http_iis_default \
-Authentication ON -authn401 OFF \
-AuthenticationHost unified.sun.ad \
-authnVsName UG_VPN_unified.sun.ad \
-lbMethod LEASTCONNECTION \
-persistMask 255.255.255.255 \
-downStateFlush ENABLED
An application URL object will be created and assigned to the VPN virtual server. This will enable a link of the application to be displayed on “Client Choices” page.
Create an application URL object and
add vpn url "IIS Web App" "IIS Web App" \
"/iisstart.htm" \
-vServerName \
lb_vserver_http_iis_default \
-clientlessAccess OFF \
-ssotype unifiedgateway \
–applicationtype CVPN
Bind this URL object it to the VPN server
bind vpn vserver UG_VPN_unified.sun.ad -urlName "IIS Web App"
Create new Content Switching action and policy
This CS policy will “switch” users to new application when they click on it.
> add cs action "UG_CSACT_unified.sunadIIS Web App" -targetLBVserver lb_vserver_http_iis_default
> add cs policy "UG_CSPOL_unified.sunadIIS Web App" \
-rule "HTTP.REQ.URL.PATH.STARTSWITH(\"/iisstart.htm\")" \
-action "UG_CSACT_unified.sunadIIS Web App"
> bind cs vserver unified.sun.ad \
-policyName "UG_CSPOL_unified.sunadIIS Web App" \
-priority 63010 -gotoPriorityExpression END -type REQUEST
“iisstart.htm” is the path of my web application.
This finishes our Unified Gateway deployment.
- Make sure that, on your test machine, when you ping the “subject” of your web server certificate it resolves to the IP address of the unified gateway –
- A DNS entry will have to be created on the public DNS for the users to be able to access the URL, but for testing purposes the hosts file can be edited.

- Login to https://<your unifiedgateway URL>. Make sure there are no certificate errors on the browser window.

- You should see the following options after a successful login.

- A click on the “Clientless Access” should give you the list of CVPN(web app we added) type of applications.

- On clicking the “IIS Web App” icon – I am successfully logged in to my web app!!
No comments:
Post a Comment